|
Size: 3169
Comment:
|
Size: 3199
Comment: fritz is on the kvm now
|
| Deletions are marked like this. | Additions are marked like this. |
| Line 12: | Line 12: |
| Then use your favorite VNC client to connect to localhost:5900. The KVM password has been distributed to admins; if you don't know it and think that you should, please contact them. | Then use your favorite VNC client to connect to localhost:5900. The KVM password is the same as mire's root password. |
| Line 44: | Line 44: |
| passwd root | |
| Line 48: | Line 47: |
| The second command will run the KVM vendor's setup program. Don't forget to choose the "Write configuration changes" option when you're done with setup! This will cause the KVM to reboot, so do not be alarmed if you get disconnected. Note that the KVM stores the password twice -- one as a unix password (for user "root") and another time via the "setup" program. |
This will run the KVM vendor's setup program. Don't forget to choose the "Write configuration changes" option when you're done with setup! This will cause the KVM to reboot, so do not be alarmed if you get disconnected. |
| Line 60: | Line 57: |
| Channel 1 is Deleuze, channel 3 is mire. To switch between screens use the sequence Scrl Lock, Scrl Lock, followed by the Up or Down key. | == KVM Channels == * 1: deleuze * 3: mire * 7: fritz * 8: hopper == Switching Between KVM Channels == To switch between screens use the sequence Scrl Lock, Scrl Lock, followed by the Up or Down key. |
| Line 69: | Line 75: |
== Sending Magic SysRq Key == Open the keys menu and toggle Left Alt {{attachment:sysrq-menu.png}} Then send PrintScrn + command key using your physical keyboard. |
1. IP KVM Tunneling
To use a VNC through a tunnel, one of the following commands must be issued More information needed...
/usr/local/bin/stunnel -f -c -d 5900 -r kvm.hcoop.net:15900
or
ssh admin@kvm.hcoop.net -L 5900:`dig +short kvm.hcoop.net`:5900
Then use your favorite VNC client to connect to localhost:5900. The KVM password is the same as mire's root password.
Note that the second command uses a numeric IP address because the KVM does not have a DNS server set. We don't want to set the DNS server, because we'd almost certainly forget to update it if it ever changed -- simplest to just run without one.
One known-good VNC client program is xtightvncviewer. After establishing a tunnel, a VNC connection using it may be established as follows.
xtightvncviewer -bgr233 localhost
Once connected, you will be "looking through" an IP KVM which is connected to a KVM Switch (these are different devices!). By pressing scroll lock twice and then the up or down arrow (ie SCRL SCRL UP or SCRL SCRL DOWN) you can switch between the various machines connected to the KVM Switch. Currently there are two: deleuze and mire.
2. Serial Port
To access the serial port, use one of the following:
 ssh -t admin@kvm.hcoop.net tip /dev/tts/0
 ssh -t admin@kvm.hcoop.net tip /dev/tts/1
One command corresponds to each of the two serial port connectors on the KVM (we're not sure which is which). After executing the command above, your ssh session will give you a console on the chosen serial port (which is probably connected to the remote power-cycling machinery of one of the servers)
3. Screenshots
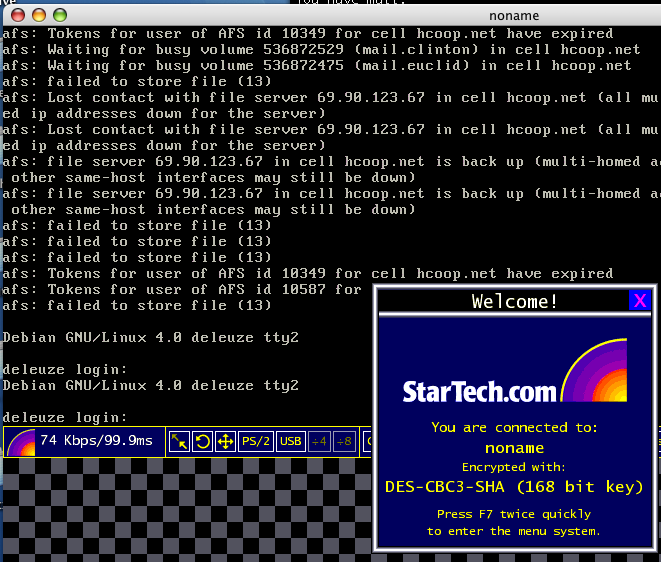
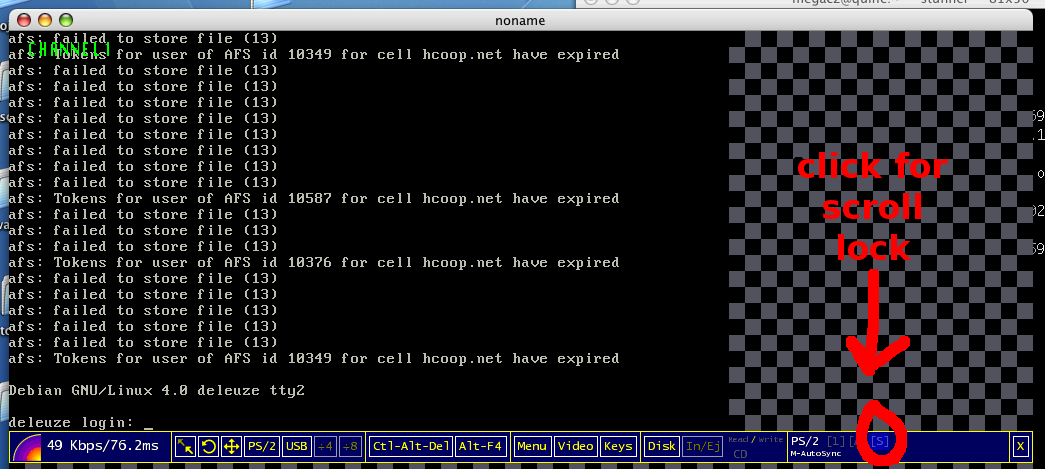
4. Configuration
To change the password to the KVM, ssh to root@kvm.hcoop.net and do two things:
setup
This will run the KVM vendor's setup program. Don't forget to choose the "Write configuration changes" option when you're done with setup! This will cause the KVM to reboot, so do not be alarmed if you get disconnected.
5. More Instructions
Log into kvm.hcoop.net with the secret password.
You can then click on the screen to launch the a Java applet, or you can connect with a vnc client natively if the applet is too slow on your system.
The screen will probably be blanked; press a key to refresh the screen.
5.1. KVM Channels
- 1: deleuze
- 3: mire
- 7: fritz
- 8: hopper
5.2. Switching Between KVM Channels
To switch between screens use the sequence Scrl Lock, Scrl Lock, followed by the Up or Down key.
You cannot press the keyboard Scroll Lock button. Instead, click on the [S] button twice. Before you click, mouse over the [S] and ensure that it is highlighted as below.
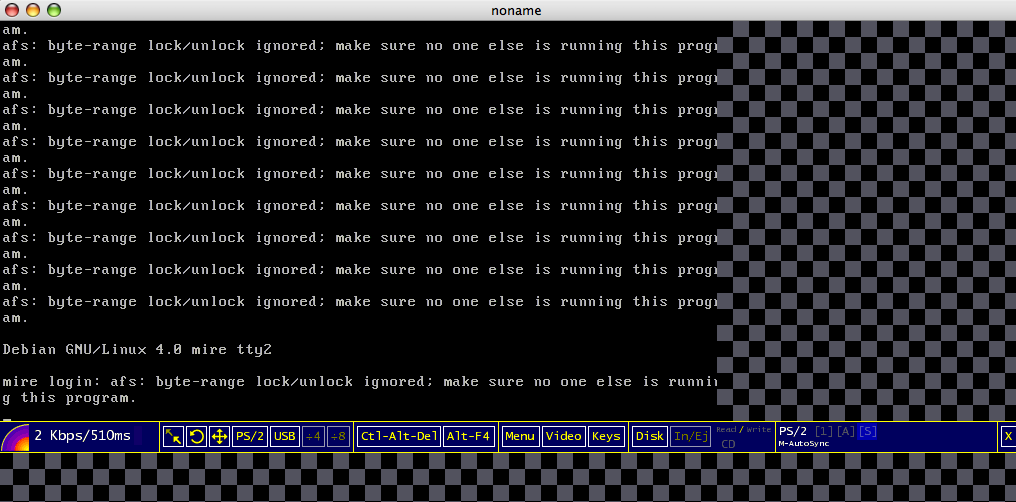
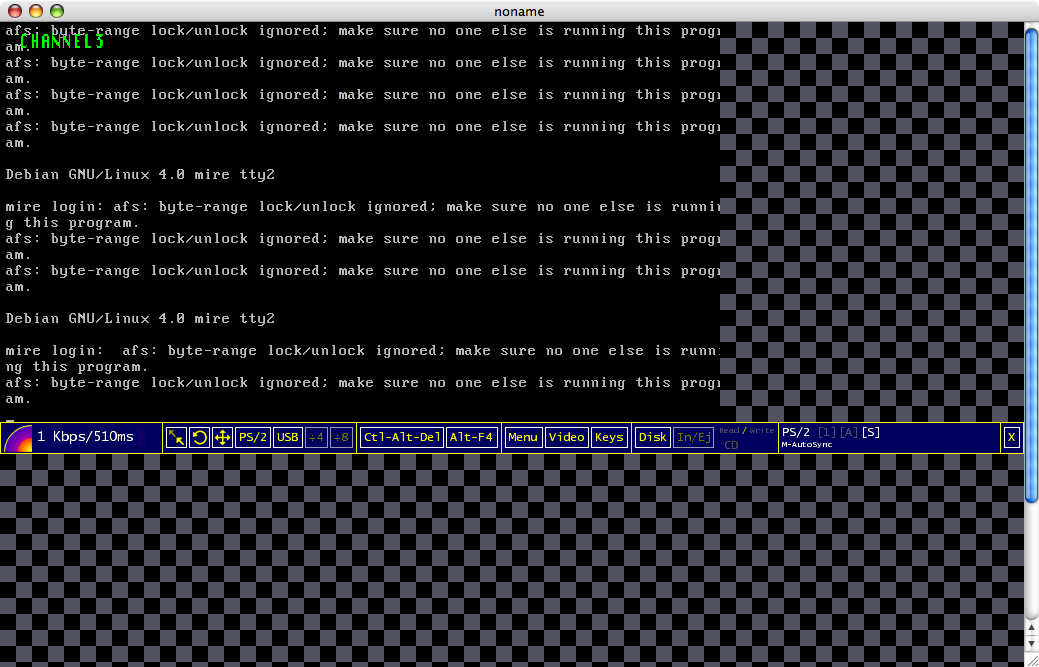
A caption with the channel number should appear in the upper left corner of the screen as pictured below. Now press Up or Down to change the active channel.
5.3. Sending Magic SysRq Key
Open the keys menu and toggle Left Alt
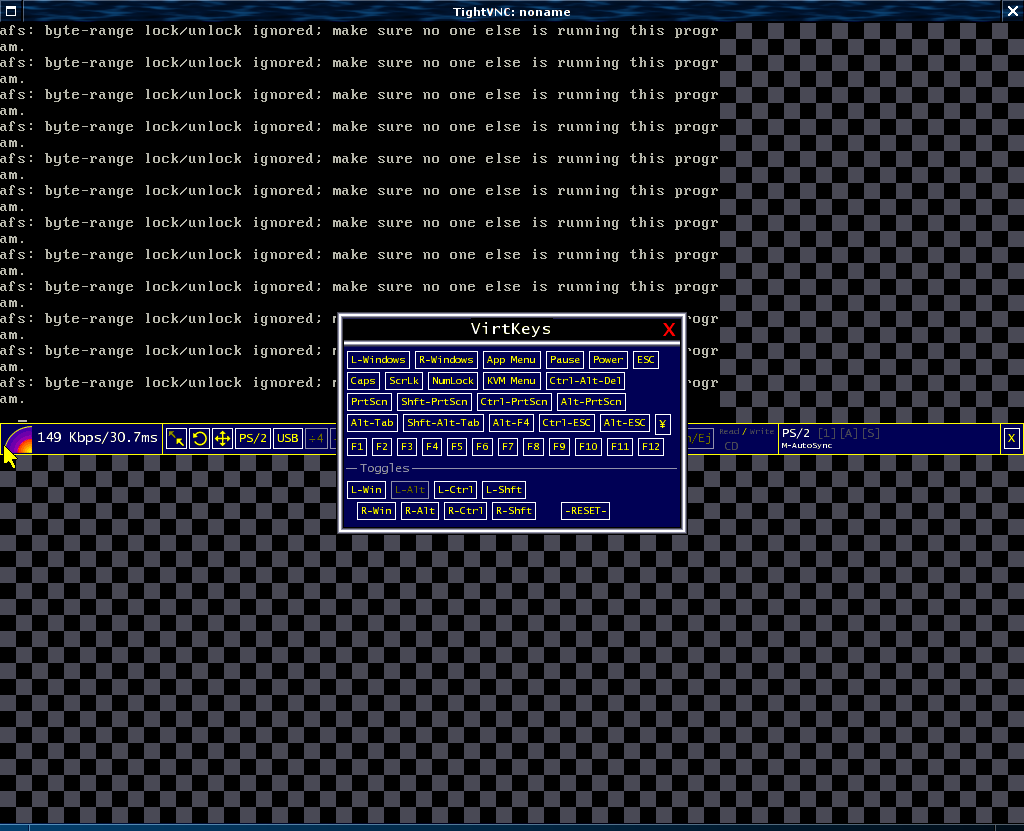
Then send PrintScrn + command key using your physical keyboard.
